

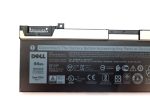
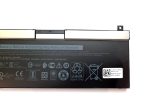
Dell Precision 7530 7540 7730 7740 Primary 4 Cell 64Wh Battery GHXKY 5TF10 RY3F9 Online now
Description
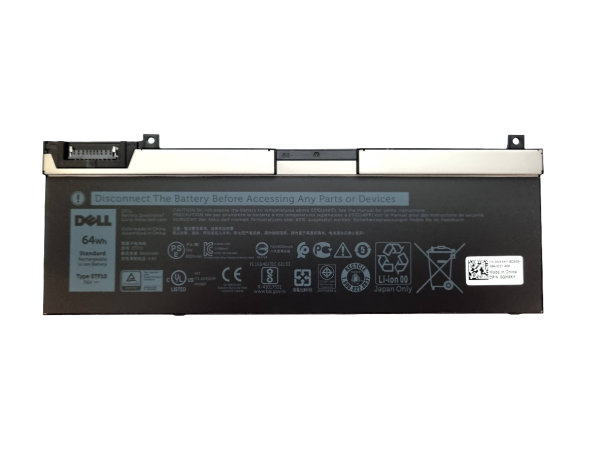
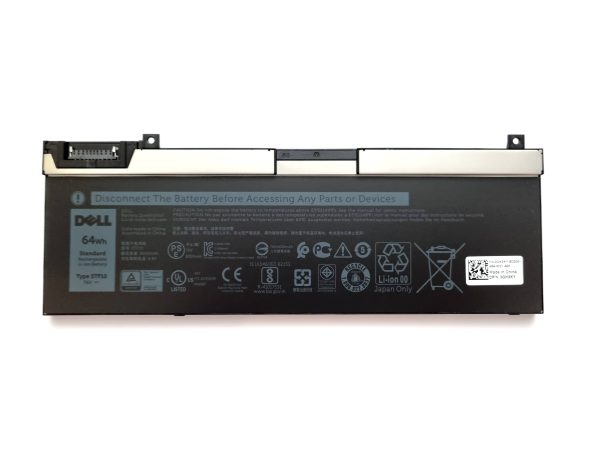
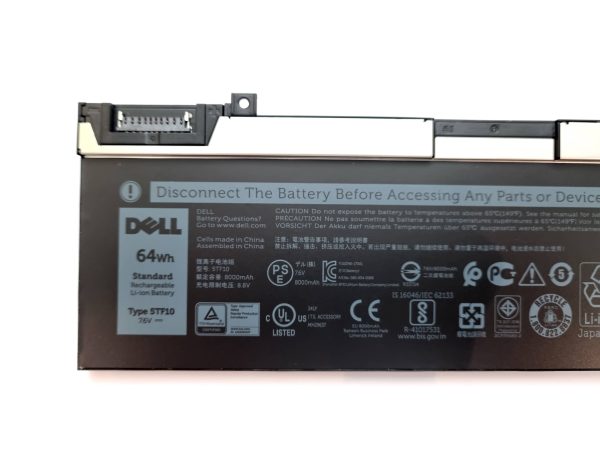
New and genuine Dell replacement for Precision 7530, 7540, 7730, and 7740. This is a 4 Cell 64Wh Battery. The Dell part numbers are GHXKY, 5TF10, RY3F9, H6K6V
Condition: New Dell Stock
Type Code: 5TF10
Dell Part Number DPN: GHXKY RY3F9 H6K6V 451-BCJE
Battery Cells: 4-Cell
Watt-Hours: 64Whr
Volts: 7.6V
Fits the following Dell Laptops:
Precision 7530
Precision 7540
Precision 7730
Precision 7740
Please note: Screws are not included. Please retain the original screws for the installation of this part.
UK Seller – Free UK Next-day Shipping – 12 Months Warranty
How to install the battery
PLEASE NOTE: We are not liable for any hardware damages or injury caused during the installation. We also recommend using anti-static equipment to prevent hardware damage.
Removing the old battery
1. Power off the laptop.
2. Turn over the laptop and unscrew the base plate cover.
3. Remove the base plate from the laptop (Use a prying tool to help unclip in necessary)
4. Identify the battery connector and unplug the battery. (Slide the battery connecter away from the motherboard connector)
5. Unscrew the battery and remove the battery from the laptop.
Installing the New battery
1. Align the new battery into position (Do not plug the battery in yet)
2. Install the battery screws
3. Plug the battery cable into the motherboard
4. Replace the base plate by applying light pressure to ensure it s seated correctly.
5. Install the base plate screws
6. Plug the power adapter into the laptop and switch on the laptop.
Additional Information
| Title | Default Title |
|---|
